Creating a WordPress website has become one of the most popular ways to establish an online presence, whether for personal projects, blogs, or business ventures. With its user-friendly interface and powerful customization options, WordPress allows anyone regardless of technical skill to build a professional-looking website.
In this article, we’ll walk you through the 10 easy and simple steps required to set up your WordPress website. Whether you’re a beginner or looking to improve your current site, these steps will help you get started and succeed.
Roadmap For WordPress Website Development
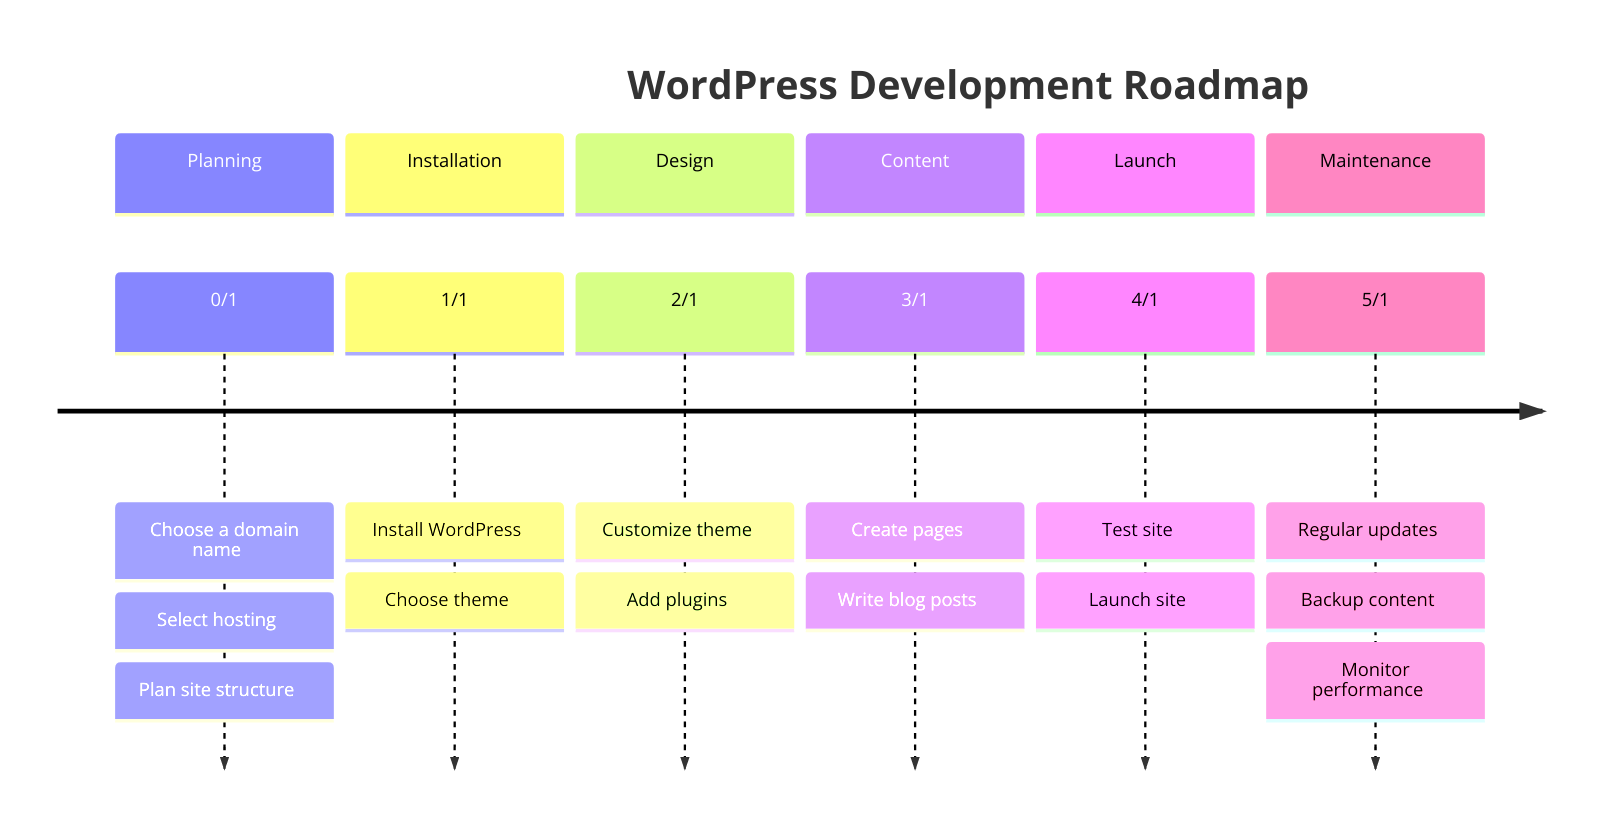
1. Planning Phase
| Define Website Goals | Determine the purpose of your website (e.g., blog, e-commerce, portfolio, business site). |
| Target Audience | Identify your target audience and how the website will cater to their needs. |
| Content Strategy | Plan the content structure, including pages (home, about, contact, etc.), blog posts, products, etc. |
| Choose Domain Name & Hosting | Select a suitable domain name and a WordPress-compatible hosting provider (e.g., Bluehost, SiteGround, WP Engine). |
| Competitor Research | Analyze competitors to identify what works in your industry and what doesn’t. |
2. Set Up WordPress
| Install WordPress | Most hosting providers offer one-click WordPress installation. |
| Choose a Theme | Select a theme based on your website type (free or premium). Consider a responsive theme for better mobile compatibility. |
| Install Necessary Plugins | – Yoast SEO for SEO – Elementor or WPBakery Page Builder – WooCommerce for e-commerce sites – Contact Form 7 for contact forms – WP Super Cache for caching – Wordfence Security for website security |
3. Design & Customization
| Customize Theme | Modify your chosen theme to match your branding (color scheme, fonts, logos, etc.). |
| Build Pages | Using the WordPress editor or a page builder, create the necessary pages: |
| Home Page | First impression matters; include an engaging design with clear calls to action. |
| About Page | Brief about your business or website. |
| Contact Page | Include a contact form, phone number, and email address. |
| Blog/Shop Pages | Depending on your website, add a blog page (for content-focused websites) or product pages (for e-commerce). |
| Landing Pages | If applicable, create optimized landing pages for marketing campaigns. |
4. Content Creation
| Write Content | Start creating content for your pages, posts, products, and services. |
| SEO Optimization | Optimize all content with relevant keywords, meta descriptions, and headers to improve search engine ranking. |
| Add media | Upload high-quality images and videos, making sure to compress them for faster load times. |
5. Functionality and Features
| E-commerce Setup (if needed) | If you’re building an e-commerce site, set up WooCommerce for product pages, payment gateways, and shopping cart functionality. |
| Membership/Subscription | For subscription-based or members-only websites, integrate a membership plugin. |
| Forms | Add forms using plugins like Contact Form 7 or Gravity Forms. |
| Blog Functionality | Set up categories, tags, and the blog post structure. |
| Widgets & Sidebars | Add useful widgets like recent posts, popular posts, social media feeds, etc., to sidebars or footers. |
6. Testing
| Cross-Browser Compatibility | Test the website on different browsers (Chrome, Firefox, Safari, Edge) to ensure it displays correctly. |
| Mobile Responsiveness | Ensure your website looks good and functions well on mobile devices using responsive design. |
| Site Speed | Check website speed using tools like Google PageSpeed Insights and optimize accordingly. |
| SEO Audit | Run an SEO audit using tools like Yoast SEO or Ahrefs to ensure proper SEO practices are in place. |
7. Launch Phase
| Backup Website | Before launching, ensure you have a full backup of the website. |
| Connect Domain | Point your domain to your WordPress hosting if you haven’t already. |
| Final Testing | Perform a final round of testing to ensure everything works correctly (links, forms, media, etc.). |
| Launch | Once you’re confident everything is set, launch the website. |
8. Post-Launch Phase
| Monitor Performance | Use tools like Google Analytics to monitor traffic, user behavior, and performance. |
| Update Content Regularly | Continuously add fresh content to engage visitors and improve SEO rankings. |
| Security | Regularly update WordPress, plugins, and themes to maintain security. Set up Wordfence or Sucuri for added protection. |
| Backups | Set up automatic backups using plugins like UpdraftPlus. |
| Maintenance | Regularly perform maintenance tasks like checking for broken links, updating plugins, and cleaning the database. |
9. Ongoing Improvements
| SEO Strategy | Continuously improve your SEO strategy by updating content, getting backlinks, and optimizing on-page elements. |
| A/B Testing | Use A/B testing to improve conversions (e.g., for call-to-action buttons, landing pages). |
| Content Strategy | Add new content (e.g., blogs, case studies, testimonials) regularly to keep the site dynamic. |
| User Feedback | Collect feedback from users to improve website functionality and design. |
Why Choose WordPress?
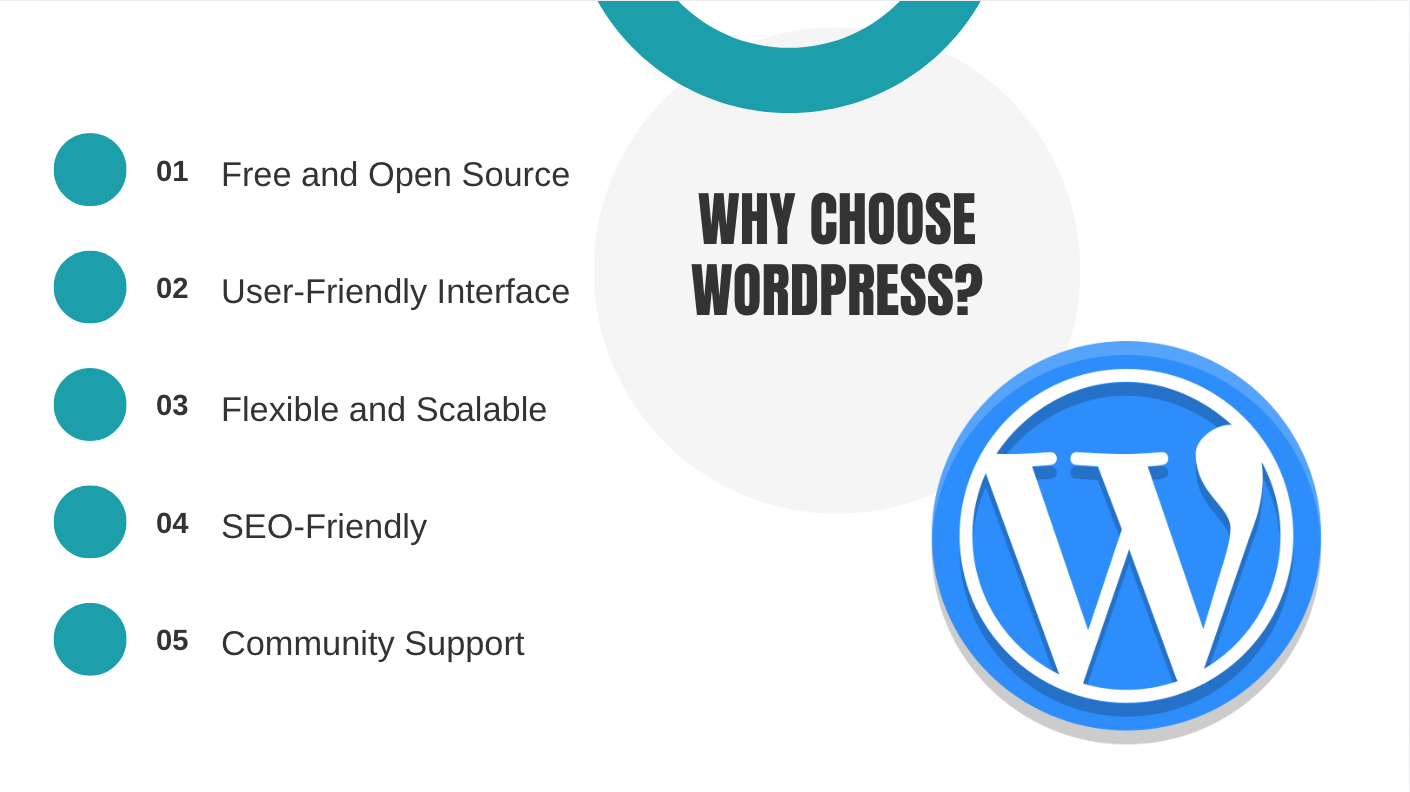
Before we dive into the steps, let’s briefly discuss why WordPress is a great choice for creating a website.
WordPress is a content management system (CMS) that powers over 40% of all websites worldwide. It is easy to use, flexible, and offers thousands of themes and plugins to customize your website’s look and functionality. Whether you’re a beginner or an experienced web developer, WordPress can help you create a website quickly without writing complex code.
Domain & Hosting Providers
Now, let’s get started with creating your WordPress website in 10 simple steps.
Step 1: Choose Your Domain Name and Hosting Provider
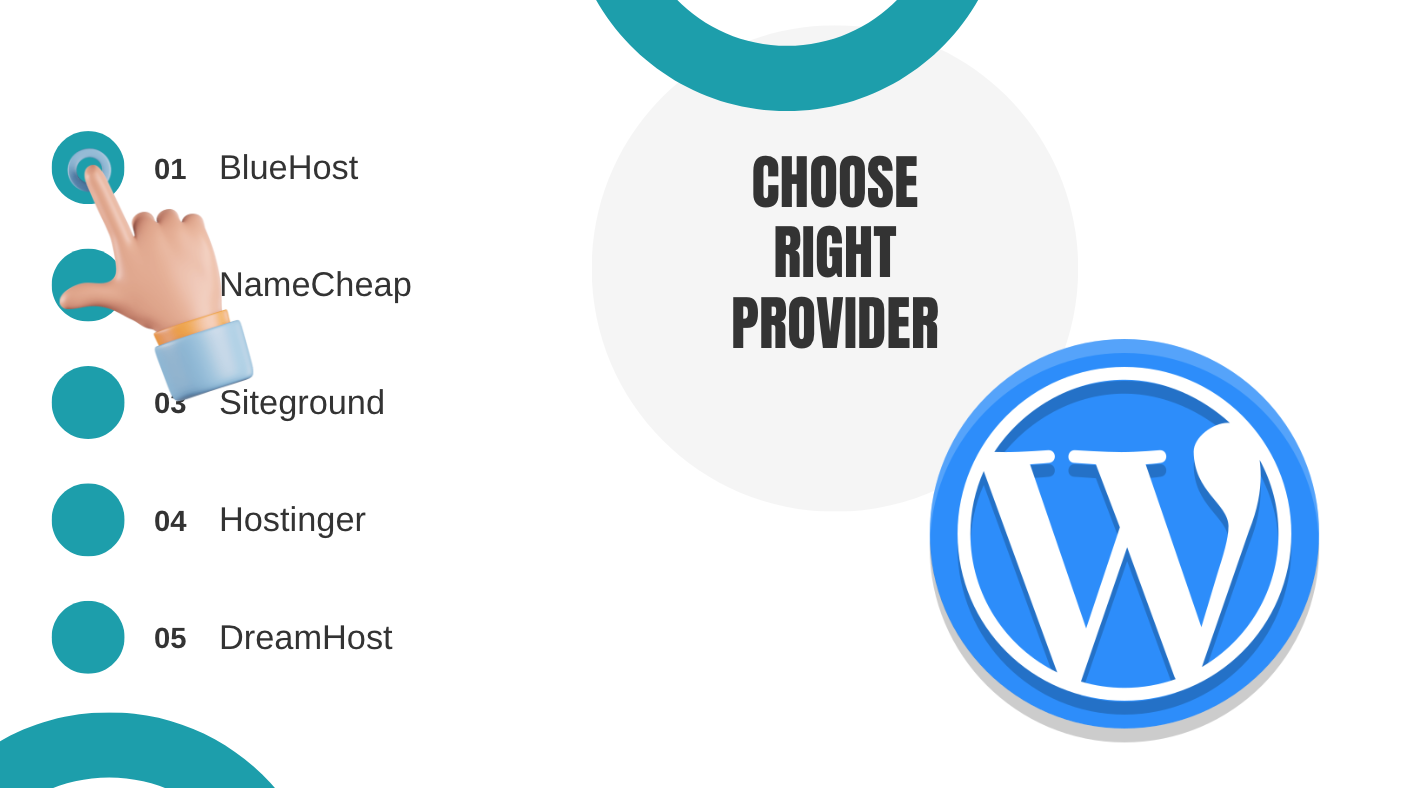
The first step in building any website is choosing a domain name (the address people use to find your website) and a web hosting provider (the company that stores your website’s files). Here’s how to get started:
Domain & Hosting Providers
A hosting provider stores your website files and makes your site accessible on the internet. Some of the best hosting providers for WordPress are:
Step 2: Install WordPress
Once you’ve purchased your domain and hosting, the next step is to install WordPress. Many hosting providers offer 1-click installation, which makes this process super easy.
Here’s how to install WordPress:
Installation Steps
After WordPress is installed, you can access your website by going to www.yourdomain.com/wp-admin, where you’ll log in using the credentials you created during installation.
Step 3: Set Up Your WordPress Theme
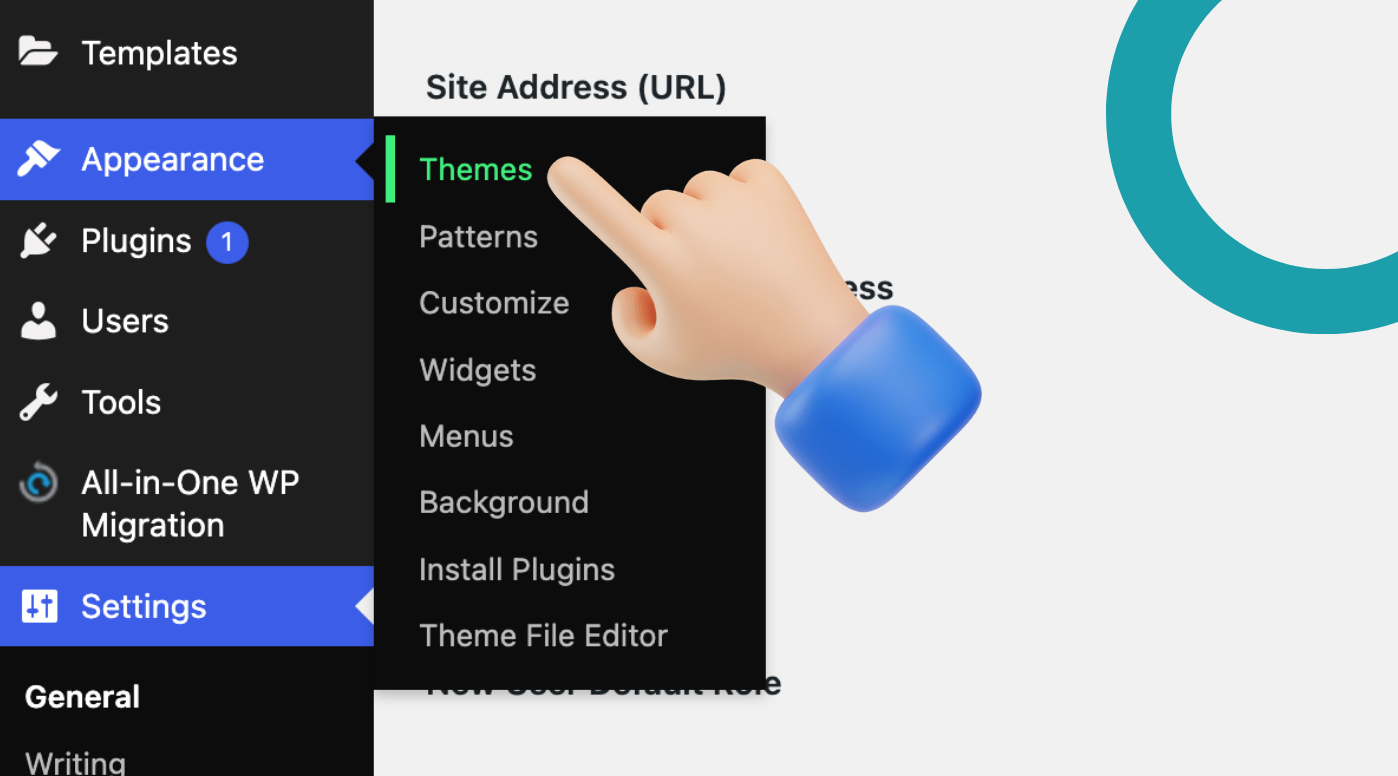
WordPress comes with several default themes, but you can customize your website by choosing a theme that suits your style. A theme controls the layout and appearance of your website, so it’s essential to choose one that matches your brand or content.
Theme Options
If you want a more customized design, you can choose premium themes from marketplaces like ThemeForest or Elegant Themes. Many premium themes offer more advanced features like drag-and-drop builders, customizable templates, and more design options.
Step 4: Customize Your Website’s Design
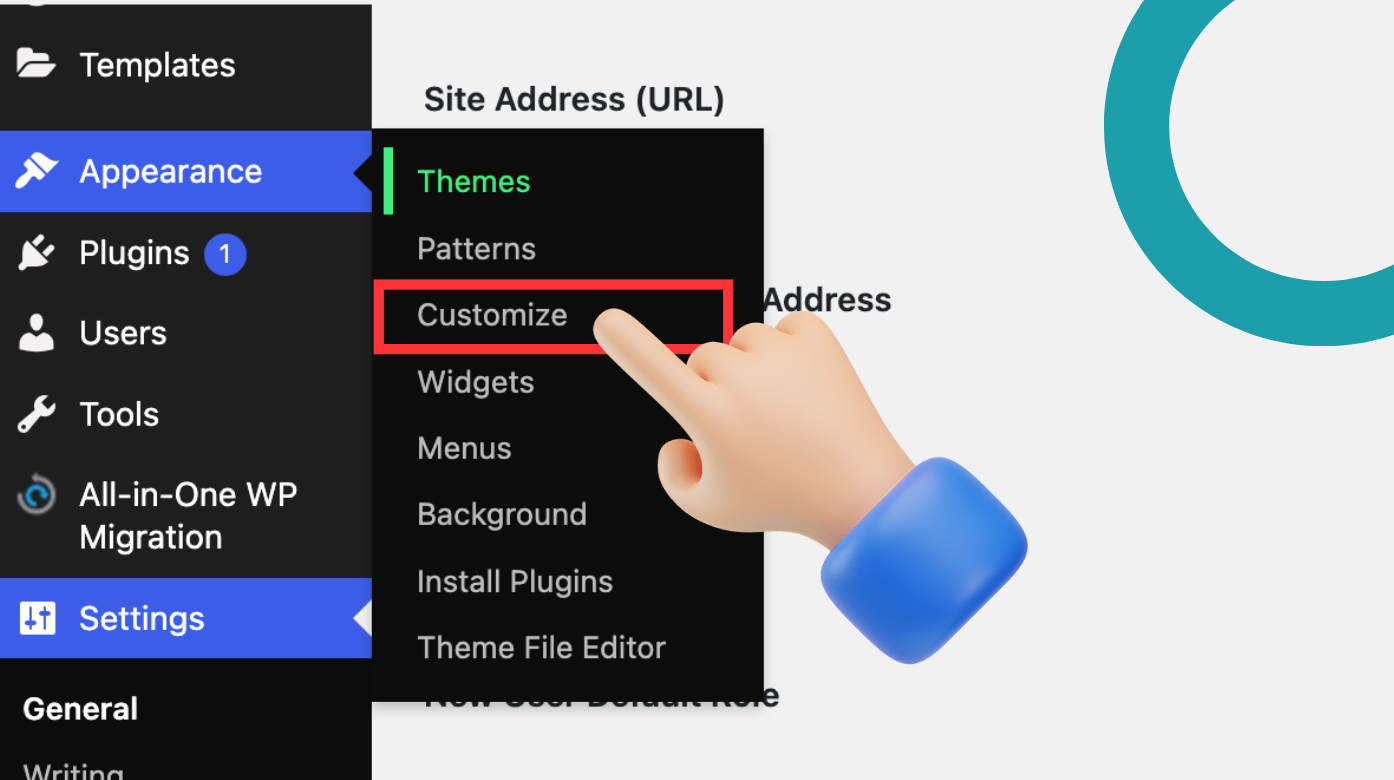
Once your theme is installed, it’s time to personalize your website. WordPress makes this easy with a built-in Customizer.
Customization Options
Additionally, some themes come with their own customization options, so check the theme’s settings under Appearance > Theme Options.
Step 5: Install Essential Plugins
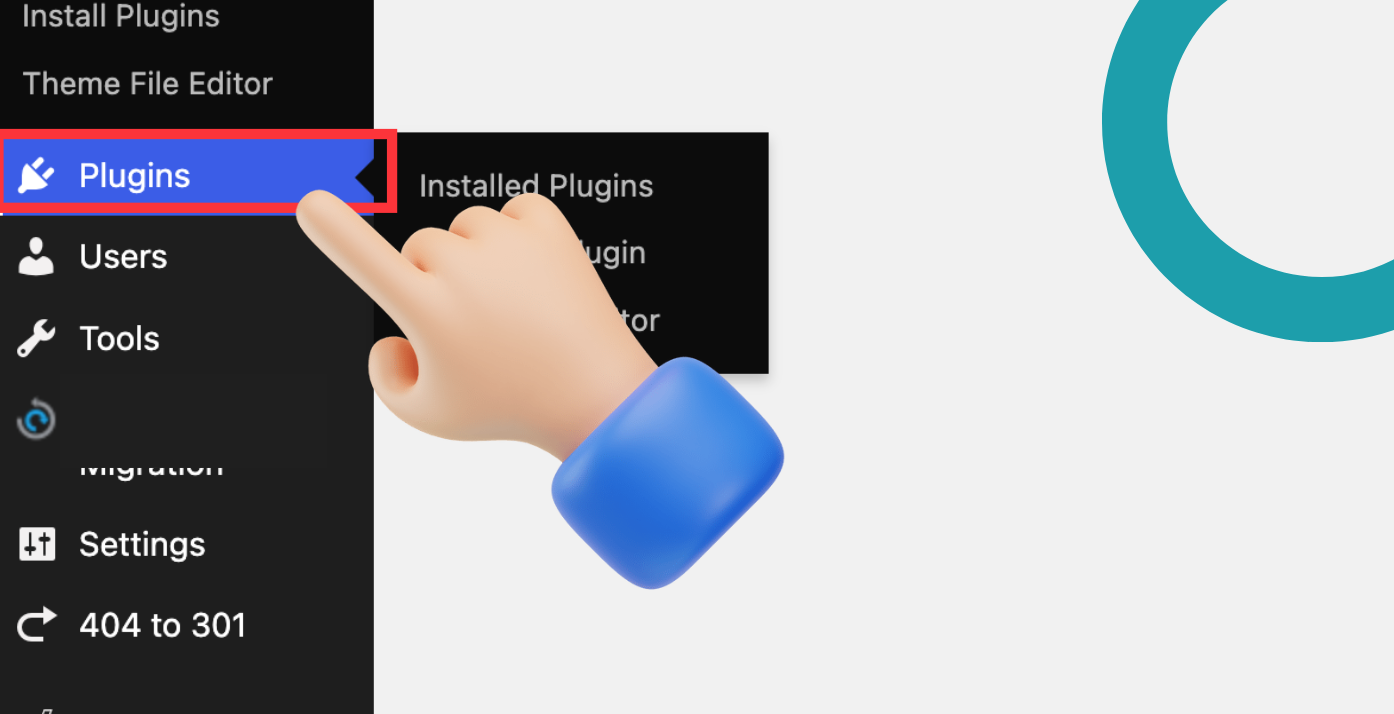
Plugins add extra functionality to your WordPress website. There are thousands of plugins available to help with SEO, social sharing, security, backups, and more. Here are some essential plugins every WordPress site should have:
Essential Plugins
To install a plugin, go to Plugins > Add New, search for the plugin you want, and click Install Now and then Activate.
Step 6: Create Pages and Posts
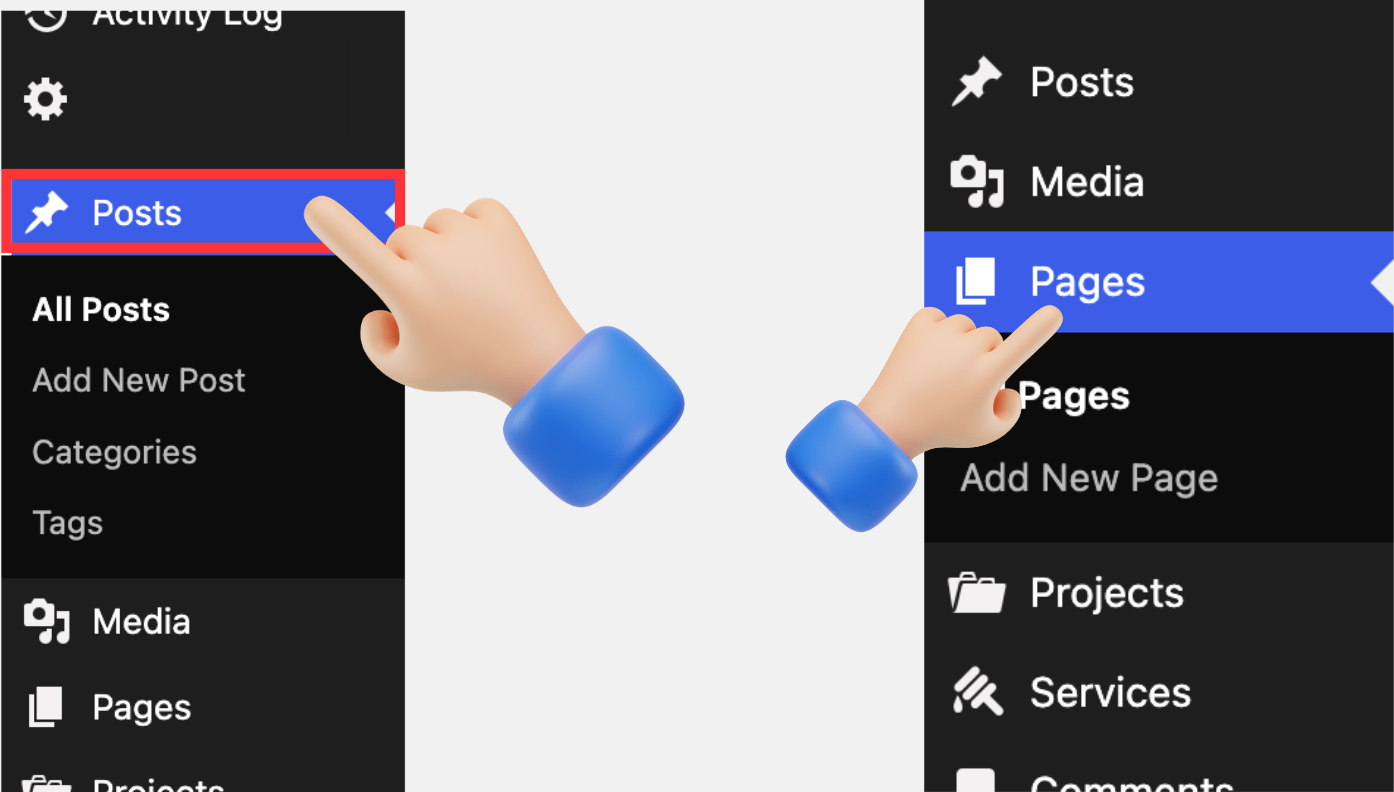
Now that your website is set up, it’s time to start adding content. There are two main types of content in WordPress:
Pages & Posts Checkpoints
To create a page, go to Pages > Add New, and to create a post, go to Posts > Add New.
For each page or post, add a title, content, and any media (images, videos) you want to include. You can format your content using the WordPress block editor, which is simple and intuitive.
Step 7: Add Website Content (Text, Images, etc.)
Content is the heart of your website. For a more engaging site, make sure to add high-quality images, videos, and well-written text.
Content Checkpoints
Make sure your content is easy to read, mobile-friendly, and properly formatted for both search engines and users.
Step 8: Optimize for SEO
To make sure people can find your website, you need to optimize it for search engines. WordPress has a few built-in SEO features, and you can also use plugins like Yoast SEO to improve your site’s visibility.
Here’s a quick checklist to improve SEO:
SEO Checkpoints
Step 9: Set Up Analytics and Tracking

To understand how your visitors interact with your site, you should set up website analytics. Google Analytics is a free tool that gives you valuable insights into your website traffic.
Tracking Checkpoints
This will allow you to track metrics like page views, bounce rate, user demographics, and more.
Step 10: Launch Your WordPress Website
Once you’ve completed the previous steps, it’s time to launch your website!
Launching Steps
Final Thoughts
Congratulations! You’ve now learned how to create a WordPress website in 10 easy and simple steps. WordPress is a powerful platform that allows you to create professional websites without any coding experience. By following these steps, you’ve not only created a functional website but also laid a strong foundation for SEO, user experience, and monetization (such as AdSense).
With a little effort and creativity, your website can become an essential tool for your personal or business goals. Keep updating your site with fresh content, optimize for speed and SEO, and explore new features as you grow.
Good luck with your WordPress website creation journey!