
If you’re planning to manage domains, build websites, or access professional email services, creating a Godaddy account is the first step. This guide provides a detailed, easy-to-follow walkthrough to help you quickly create a Godaddy account and get started with their services.
Why You Need a Godaddy Account
Before diving into the steps, let’s quickly understand why having a Godaddy account is beneficial. A Godaddy account allows you to:
- Manage domain registrations and renewals.
- Access hosting and website-building tools.
- Set up and manage professional email services.
- Keep all your online services under one secure account.
Now that we know why it’s essential let’s move on to how you can create a Godaddy account.
Steps to Create Godaddy Account
Step 1: Visit the Godaddy Website
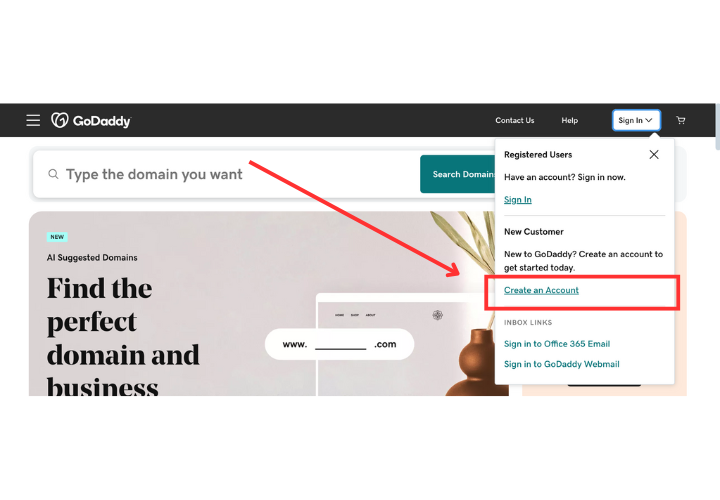
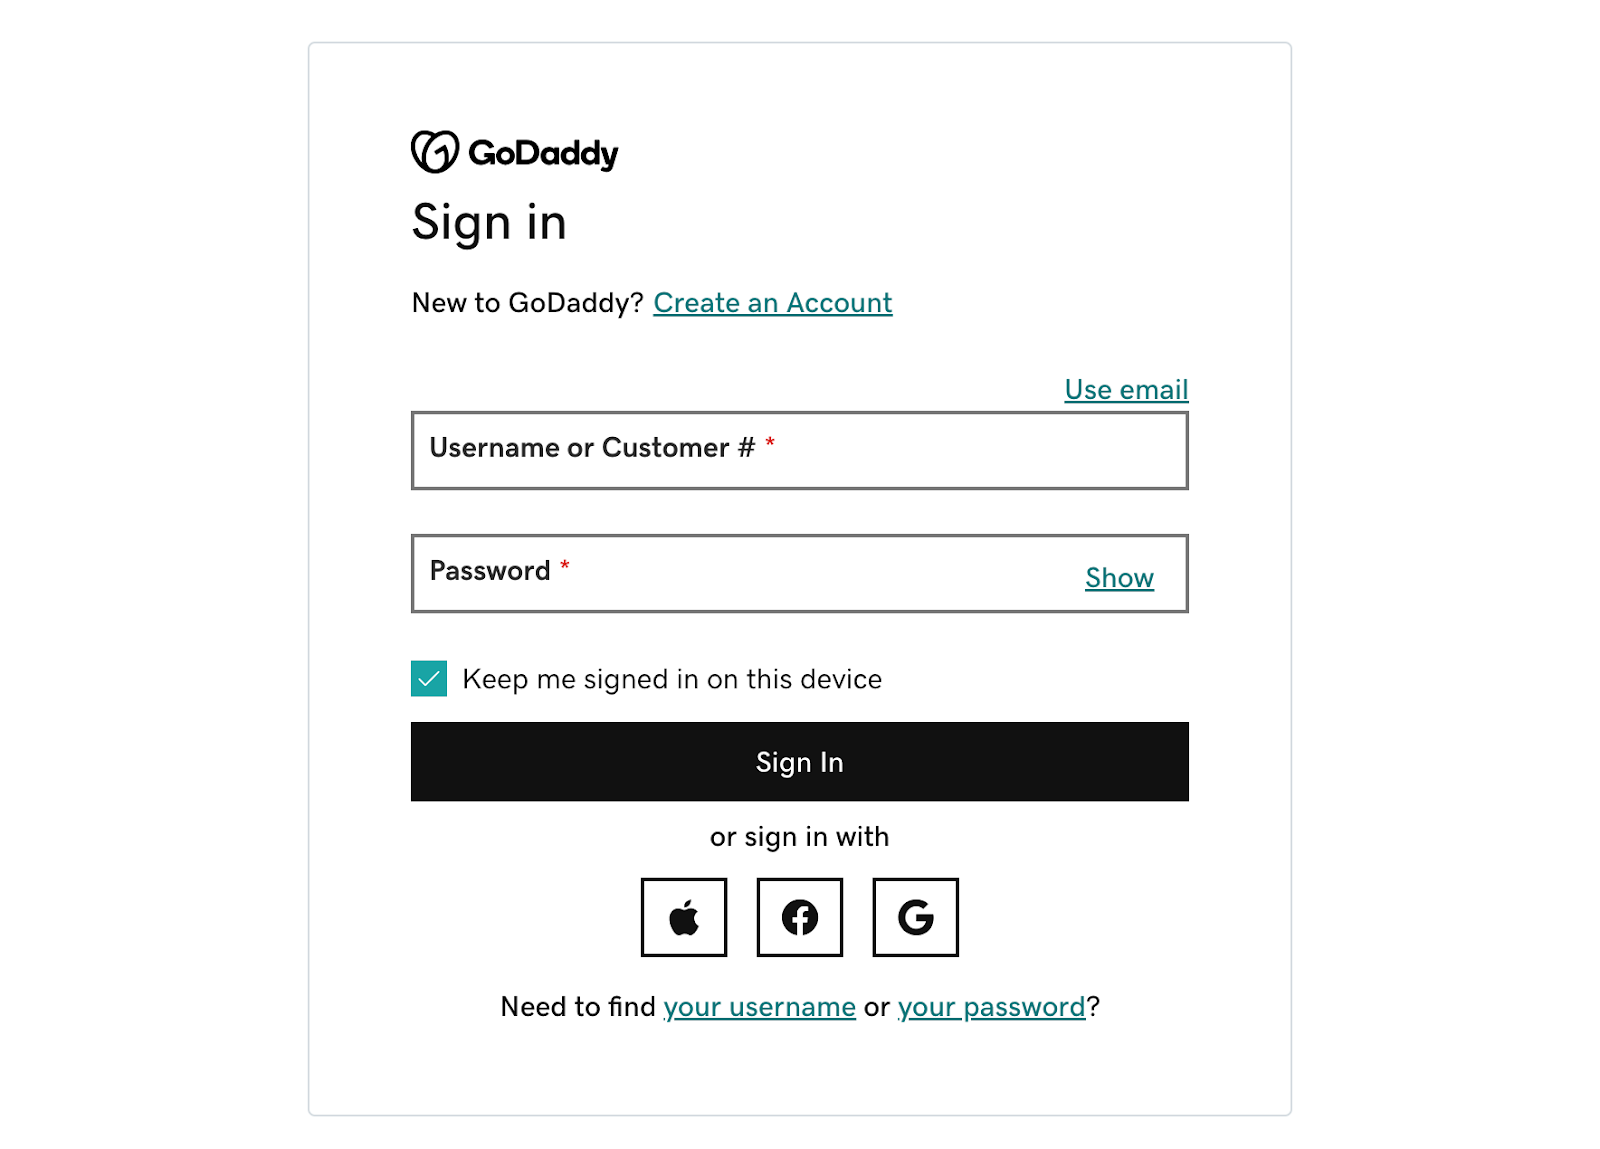
Start by visiting the Godaddy homepage. At the top right corner of the page, click on the Sign In button. From the dropdown menu, select Create My Account to begin the registration process.
Step 2: Select Account Method
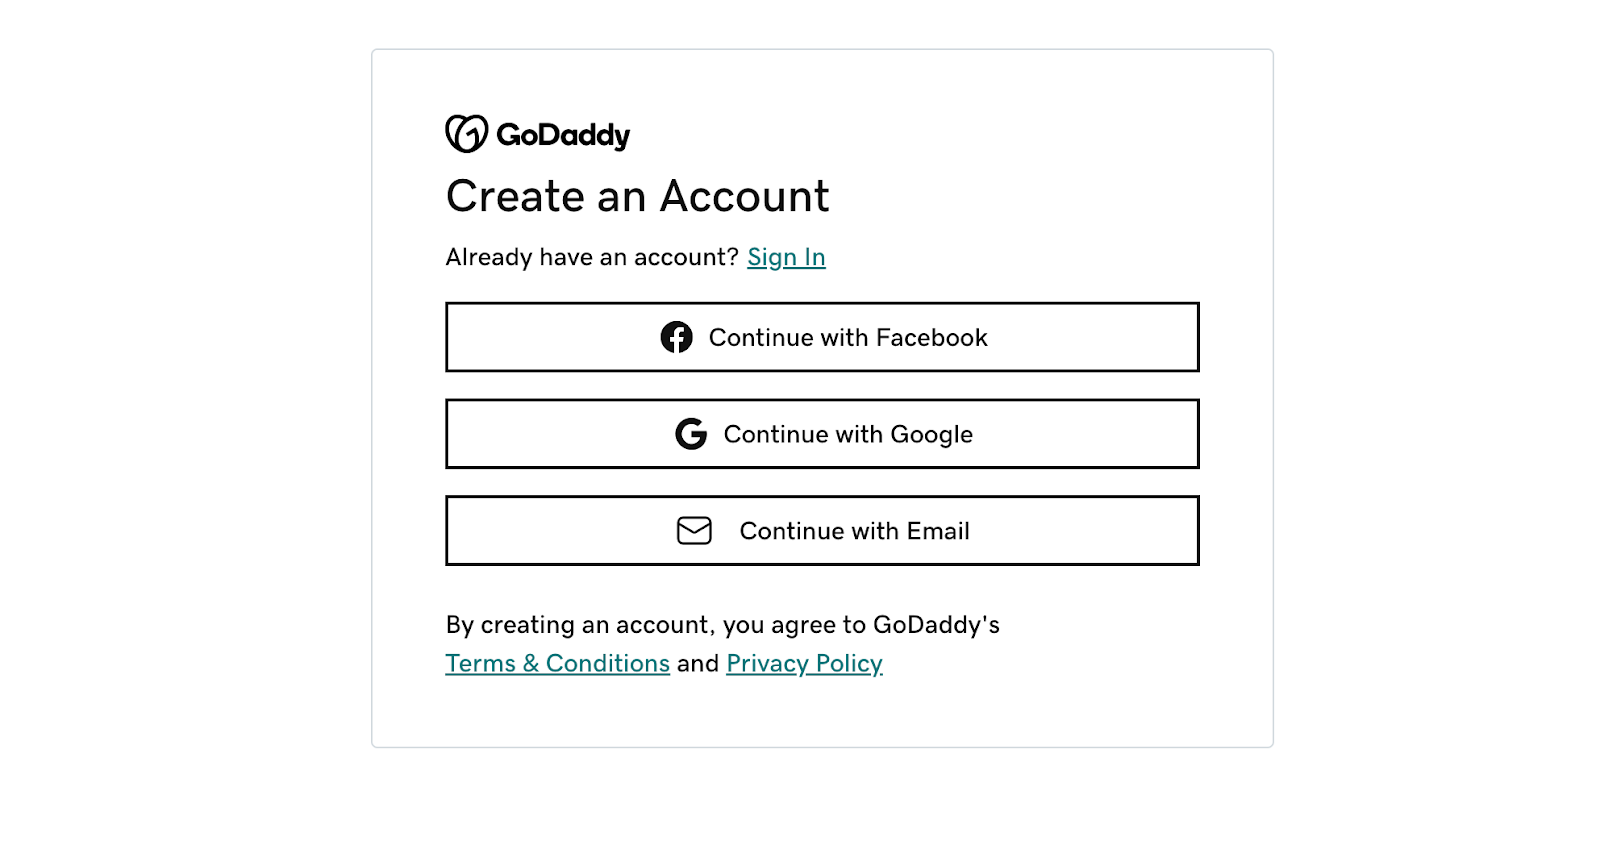
Godaddy offers multiple ways to set up your account. You can choose to register with:
- Your email address
- Your Google account
- Your Facebook account
For simplicity and better control, using your email is recommended.
Step 3: Enter Your Personal Details
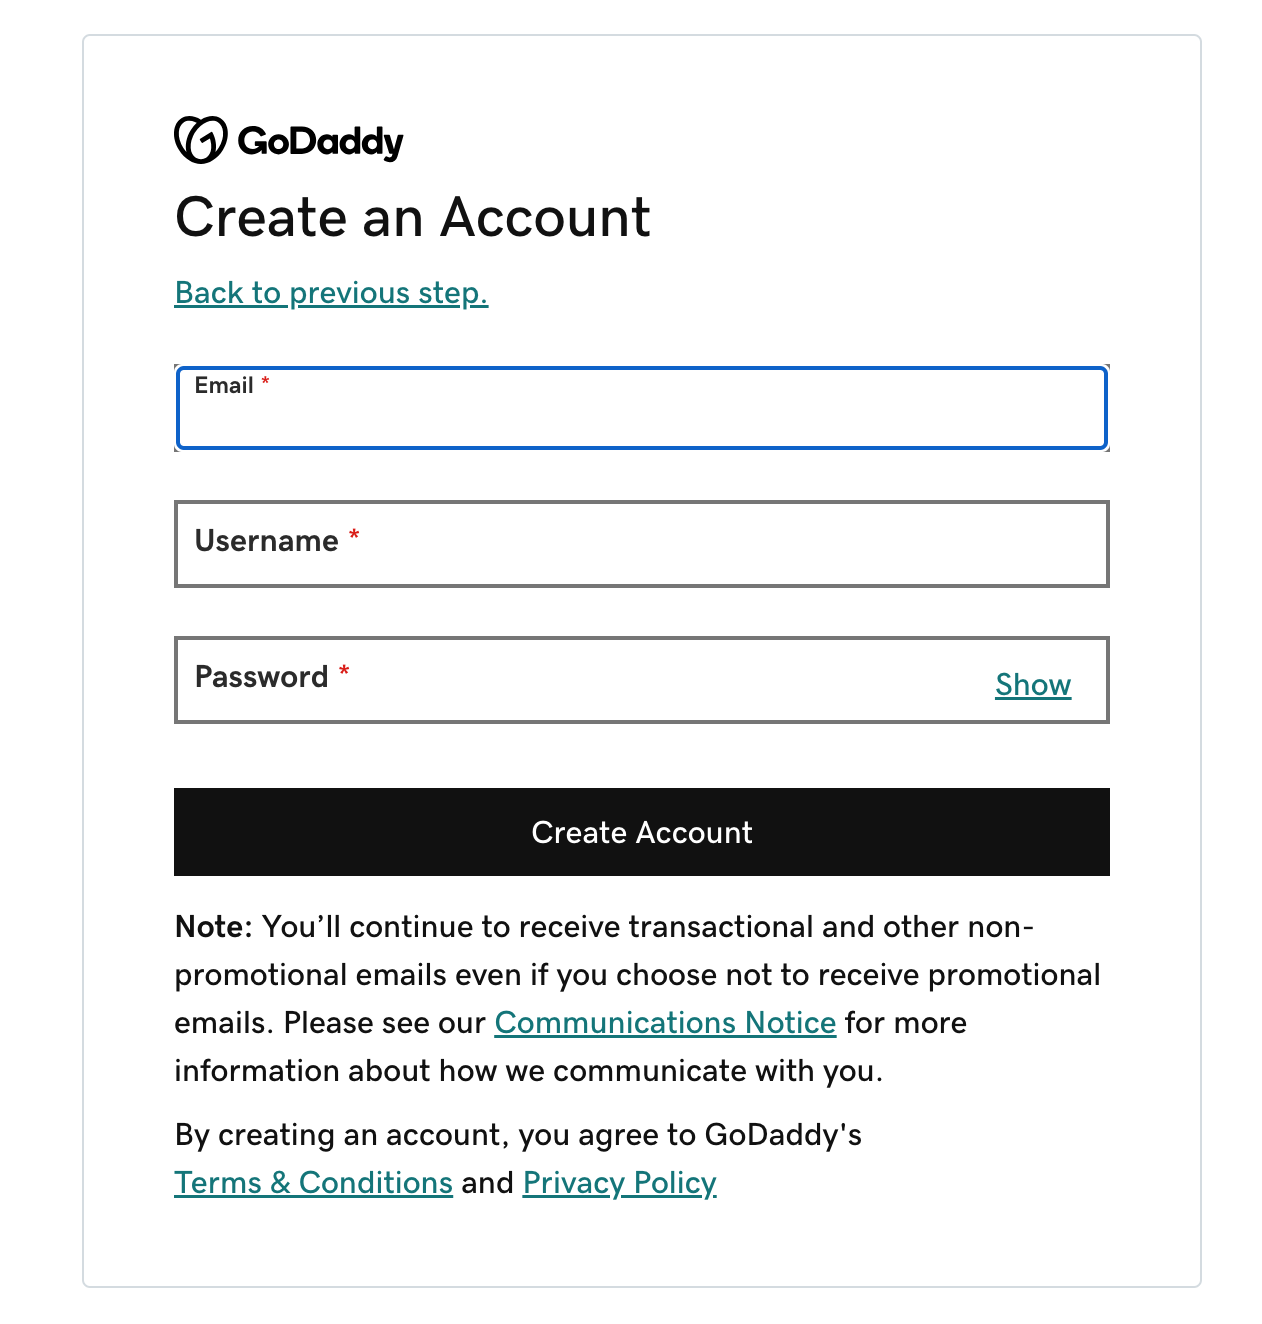
Once you select your preferred method, you’ll need to provide:
- Email Address: Use a valid email address, as it will be your primary contact for account notifications and updates.
- Username: Choose a memorable username that you can easily recall.
- Password: Create a strong password with a combination of uppercase letters, lowercase letters, numbers, and symbols. This ensures your account remains secure.
Double-check the information before proceeding to the next step.
Step 4: Verify Email Address
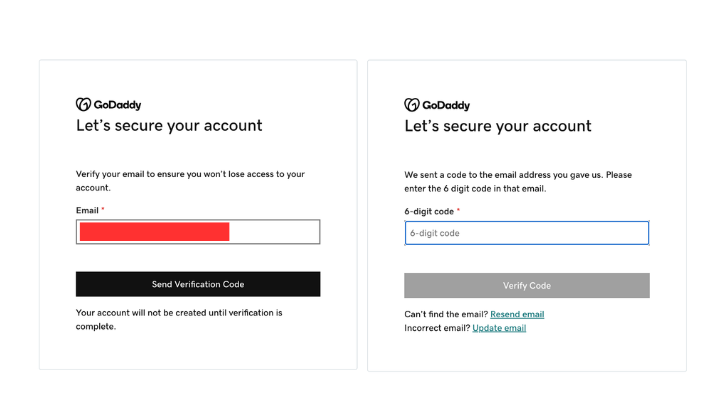
Godaddy will send a verification email to the address you entered during registration. Check your inbox and click on the verification link to confirm your email address. If you don’t see the email, check your spam or junk folder. Verifying your email ensures that your account is activated and ready to use.
Step 5: Access Your Account
After verification, log in to your newly created Godaddy account. Navigate to the dashboard, where you can explore Godaddy’s services, including domain registration, hosting, and email setup. Bookmark the login page (https://www.godaddy.com) for quick access in the future.
What to Do After You Create a Godaddy Account
Once your account is set up, here are some key actions to take:
- Set Up Two-Factor Authentication (2FA): Add an extra layer of security by enabling 2FA, which protects your account from unauthorized access.
- Explore Godaddy’s Features: From registering a domain to setting up an email, explore the tools available in your dashboard.
- Update Your Profile: Add accurate contact information to ensure smooth account recovery and better communication.
Tips for Managing Your Godaddy Account |
|
|---|---|
| Keep Your Credentials Secure: | Store your username and password in a safe place or use a password manager. |
| Enable Notifications: | Turn on alerts for domain renewals, billing updates, and account changes. |
| Familiarize Yourself with Support Options: | Godaddy offers extensive customer support via chat, phone, and email. Bookmark the help page for quick access. |
Conclusion
Setting up a Godaddy account is quick and straightforward when you follow this step-by-step guide. With your account ready, you can easily manage domains, build websites, and use professional tools to enhance your online presence.
By creating a Godaddy account, you’re taking the first step toward simplifying and optimizing your digital management experience. Start today and explore the full range of Godaddy’s powerful services.